Two weekends we began the construction of our cold frame. I hear you snickering, I know it's warm outside and the birds are singing but I wanted a cold frame. This is not an ordinary this cold frame is Jones style. Last fall we replaced our screen door and the old one sat in our garage along with everything else. With a little internet research we made a plan. We decided to use the door to "reuse". Several boards that we had left over from other project we scramble up. Once inventory was taken my husband only had toso spend $30 at the hardware store on lumber. That may seem like a lot but use haven't seen the size of this cold frame yet.
 |
| This is not the before photo it is the during. A true before photo was never not documented for safety purposes. |
I'm getting ahead of myself. Let
s back up a few hours. First we had to clean our garage. It was scary. I refused to walk in the garage because it was SO bad. We have recently done alot of remodeling so everything gets dumped in the there. It's not perfect but garages are never perfect unless you are my brother.

Frist we had to measure the size of the screen door that we were using for the top. Then the side boards were able to be cut.
 |
| I wasn't the "cutter", I was the "board holder". |
We decided not to make a frame, we just used supports to reinforce the sides.
 |
| Squaring the corners |
 |
| First level of boards. |
 |
Supports nailed to the sides |
A slant was added to the sides to get more sunlight when facing the south.

| Second level and sides were added along with more supports. |

While constructing this I remember seeing some models with pullout sides. This was for ventilation purposes. So after a bit of convincing, my husband allowed me to change the plans. Now we had to find extra hinges so that the side would swing out. Good thing we have replaced a few doors lately. The sides will now have swing out so that the top doesn't have to be open on warm days.

After the door was screwed on, husband decided to seal the boards with some extra Thompson Water sealer so the boards won't rot.

After the door was screwed on, husband decided to seal the boards with some extra Thompson Water sealer so the boards won't rot.
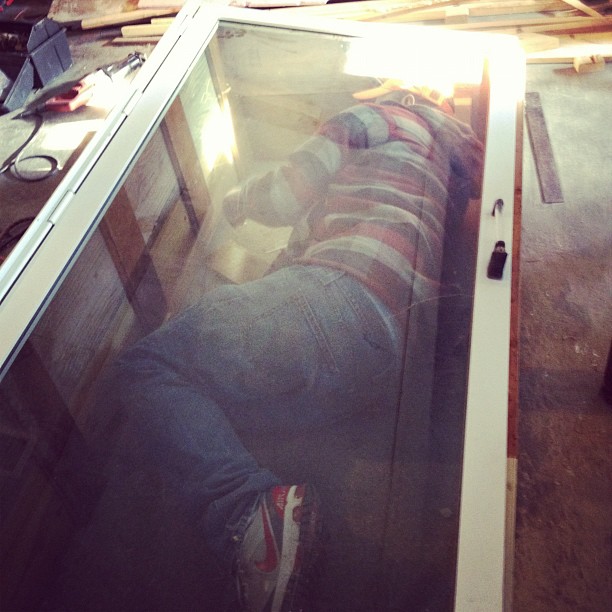 |
Favorite Photo during the process! |
Happy Planting everyone!
No comments:
Post a Comment